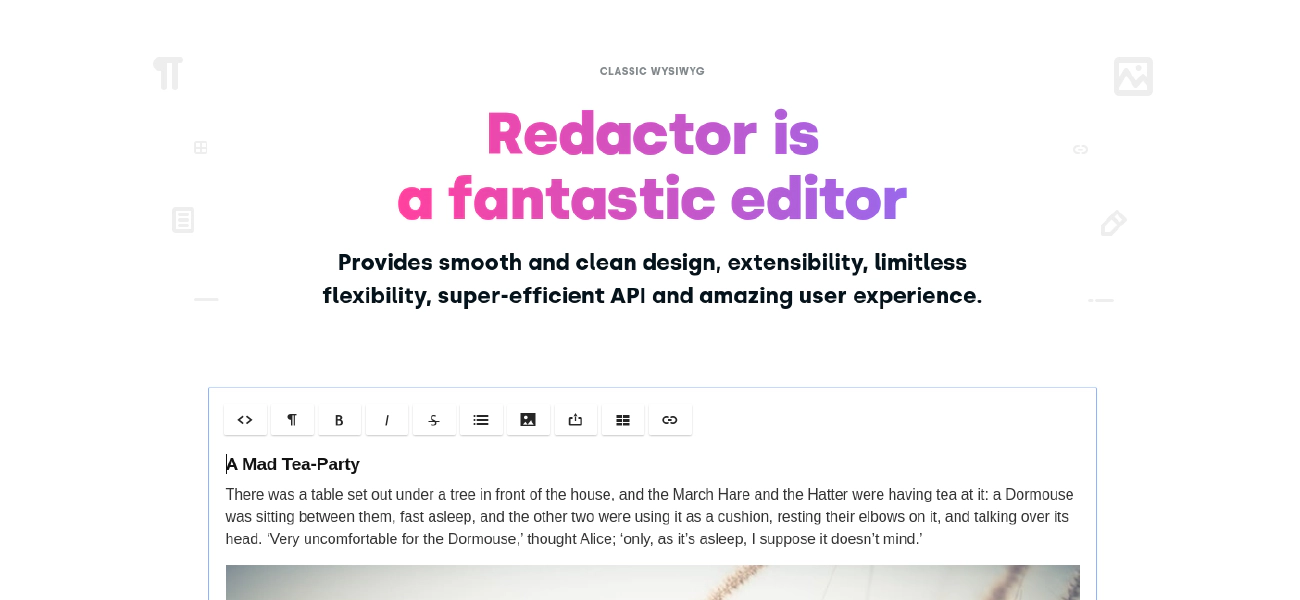
Redactor is a WYSIWYG editor for the web, it has a lot of official plugins but you may want to make your own in order to support a particular feature.
Lately, I made a plugin to be able to add colored code blocks (as you can see in this post for instance). It’s called redactor-codeblock-plugin . Given the few resources available in the Imperavi documentation I decided to write this guide to help anyone who wants ot join the party.
Base of a plugin
In this tutorial I will assume that you know how to load a custom plugin in redactor and you are ready to code in your javascript file.
The first step is to initialize a new plugin:
(function($R)
{
    $R.add('plugin', 'pluginName', {

        // construct
        init: function(app)
        {
            // define redactor app
            this.app = app;

            // your code
        }
    });
})(Redactor);
In the init function you can define all the services you want to use. The full documentation about services is available here .
For instance, here are the ones I used in my plugin:
init: function (app) {
            // define app
            this.app = app;

            // define toolbar so we can add the button to it
            this.toolbar = app.toolbar;

            // define language for translations
            this.lang = app.lang;

            // define selection to be able to catch where the cursor is
            this.selection = app.selection;

            // define insertion to be able to insert content
            this.insertion = app.insertion;
        }
Creating a button in the toolbar
A simple button
The start method will allow you define what will do your plugin when it is loaded.
start: function() {
            const buttonData = {
                title: 'Click me',
                api: 'plugin.pluginName.action' // this will call the method 'this.action'
            };

            // add the button to the toolbar
            const $button = this.toolbar.addButton('my-button', buttonData);
        }
You can also add a button after a specific other button:
const $button = this.toolbar.addButtonAfter('format', 'my-button', buttonData);
In this example the button will be added after the format button.
Complex calls
You can pass arguments to your plugin methods when clicking on a button.
const buttonData = {
    title: 'Click me',
    api: 'plugin.pluginName.action',
    args: {
        argument1: 'anything',
        otherArgument: 99
    }
};
In your action method you can simply get back the arguments this way:
addCodeBlock: function (args) {
    const { argument1, otherArgument } = args;

    console.log(argument1, otherArgument); // anything 99
}
A dropdown button
You may want your button to act as a dropdown:
const buttonData = {
    title: 'Click me'
};

const buttonDropdown = {
    item1: {
        title: 'My dropdown item 1',
        api: 'plugin.pluginName.method1'
    },
    item2: {
        title: 'My dropdown item 2',
        api: 'plugin.pluginName.method2'
    }
};

// create the button
const $button = this.toolbar.addButton('my-button', buttonData);

// set dropdown
$button.setDropdown(dropdownData);
Last but not least, to make your extension shine even more you can add an icon to it:
$button.setIcon('<i class="re-icon-codesnippets"></i>');
I took one of the available icons I could find in the redactor code .
Editing the current selection
The selection service is one of my favorite, you can look around the user cursor and do what you want from there.
For instance here are ways to catch the parent or child element around the cursor:
// Get the first block element containing the selection
let block = this.selection.getBlock();
if (!block) return;

// Get the (grand) parent of the selection
const parent = block.parentNode;

// Get the child of the selection
const child = this.selection.getElement();

// Get the inner text of your selection
const text = this.selection.getText();
Then with this you can do a lot of different actions, like:
- Getting the node name
block.nodeName
- Getting the dom element and replacing it by something else
const $node = $R.dom(child);
// here we remove the node and just place its content in the page
$node.replaceWith($node.contents());
- Using the app api service to alter the page
// this will change the format of the current block
this.app.api('module.block.format', 'pre');
Inserting content
There are plenty ways of inserting content with the insertion service:
// this will change the whole content
this.insertion.set(html);

// this will insert plain text
this.insertion.insertText(text);

// this will insert HTML
this.insertion.insertHtml(html);
See the full documentation about insertion here .
Managing translations
If you want you can make sure that your plugin is translated in multiple languages.
To do so you can add a translations object containing the country code and all the keys you want to translate.
translations: {
            en: {
                "mykey": "Code Block",
            },
            fr: {
                "mykey": "Bloc de code",
            }
        },
To use them you can simply call this function:
this.lang.get('mykey')
Conclusion
The services API provided by Redactor is super complete there are lot of possibilities that I couldn’t develop entirely here.
I recommend reading the services documentation that I linked earlier to find the different methods that will fit your use case.
Also, you can read all the default official plugins that were made to see how to build complex extensions.
I hope you enjoyed this tutorial, don’t hesitate to shoot your burning questions in the comments.
